
How do you hang that picture? So Confused!
Photography by Alyssa Rosenheck Photography
It can be downright frustrating trying to figure out just how to hang artwork on a wall.
Whether a large piece of artwork, or many separate small pieces in a grouping, trying to figure out what the design rules are, can be frustrating. After all, we all want our homes to look like we had an interior designer just step in to help with the process.
Before putting way too many nails in the wall, I’ve come up with just a few very quick standards that the design professional follow, that might help. Of course, these rules can be broken...depending on the wall and what is hanging on it.
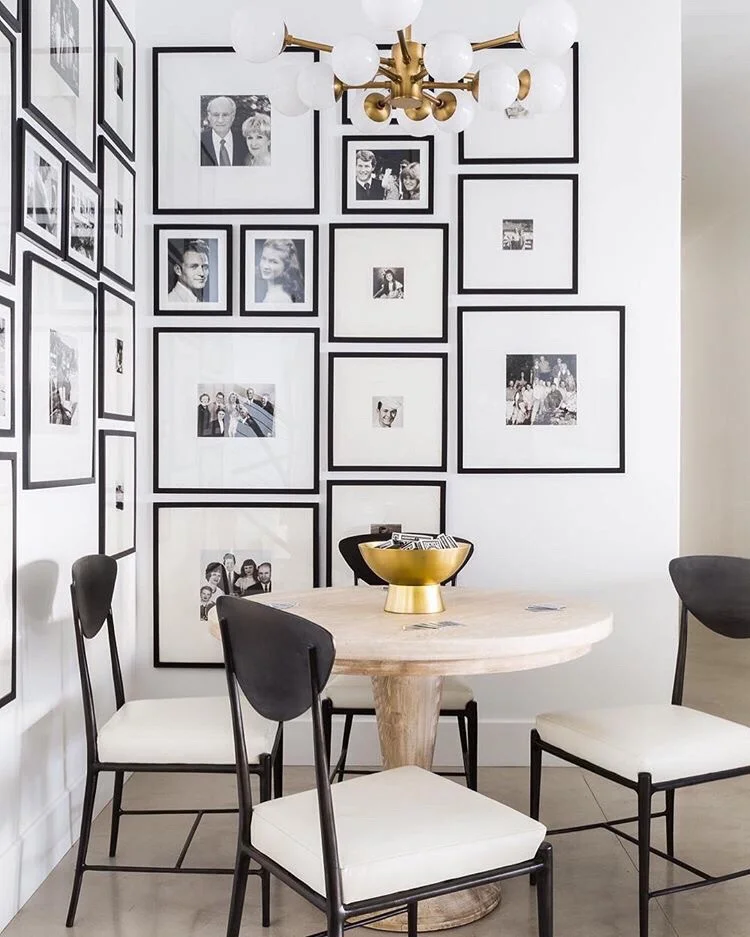
How high should you hang your artwork? Easy? Not! Fear not....there are some standards. The center of your artwork should be 57” from the floor. This is supposed to be the optimal eye level for most people. Of course, if you are really tall, that may go up to 62". In the dining room, most of the time you are sitting therefore, your artwork should be eye level. Play around with it to be sure you are adjusting for when you and your guests are seated.

Design by: Rachel Wade / Photo by: Raquel Langworthy Photography
When hanging one large piece of artwork or a grouping of art, over a substantial sofa or large piece of furniture, the artwork should only measure approximately 75% the width of the furniture. Look at the grouping as one peice of art. The total measurement around that grouping also counts as one piece. All should never measure wider than the furniture itself. You want to make a statement and it does anchor the room. If the picture is too small it will be underwhelming or larger can become overwhelming.

This little tip can save you time before hanging that picture
A great way to test an arrangement of pictures before putting in the nail holes, is by arranging the picture groupings on the floor on top of some craft paper. Move all the pieces around until you are happy with the arrangement. Trace around each piece and mark the hanging points. Next, tape the paper of each of the pictures to the wall. If you are happy with the arrangement, hammer in the nails at the marked hanging points. Remove the paper and you are done. This avoids unnecessary nail holes in the wall.
tips
If you are grouping artwork or pictures, there is a rule that generally is followed. For smaller framed pictures or photos, keep about 1 – 2 inches between frames. If you have larger artwork, you can go up to 4 inches between each.

Designed by Lauren Evans Interiors / Photo by Vivian Johnson Photo
Do not ignore a small narrow space next to a door or window. Hanging artwork on a vertical can be very dramatic and gives the impression of a higher ceiling.
A fireplace is most often the focal point of a room. It’s a good idea to make the art grouping about the same size as the fireplace opening. One large piece or several small pieces that appear as one unit is a great solution.
To learn more about hanging pictures, follow this link to experienced interior designer Emily Henderson 's website and take a look at her step by step illustrational guide. She gives a very comprehensive and easy process for taking the difficulty out of hanging your artwork. Go to her blog and search "how to hang art correctly". Follow Link
Happy Picture Hanging,
Mary


